Would you like to personalize your newsletter and address your customers individually?
Good personalization is a key factor in the success of your newsletter. Because if your readers feel personally addressed, they are more likely to read your newsletter and take advantage of your offers.
With the mynewsletter.rocks email marketing app, it is very easy to add a personal salutation to your newsletter:
First click on the position in the text where you want to insert the personalization field. In principle, all email fields, the subject line and the alternative text can be personalized. All fields from your address list are available for this.
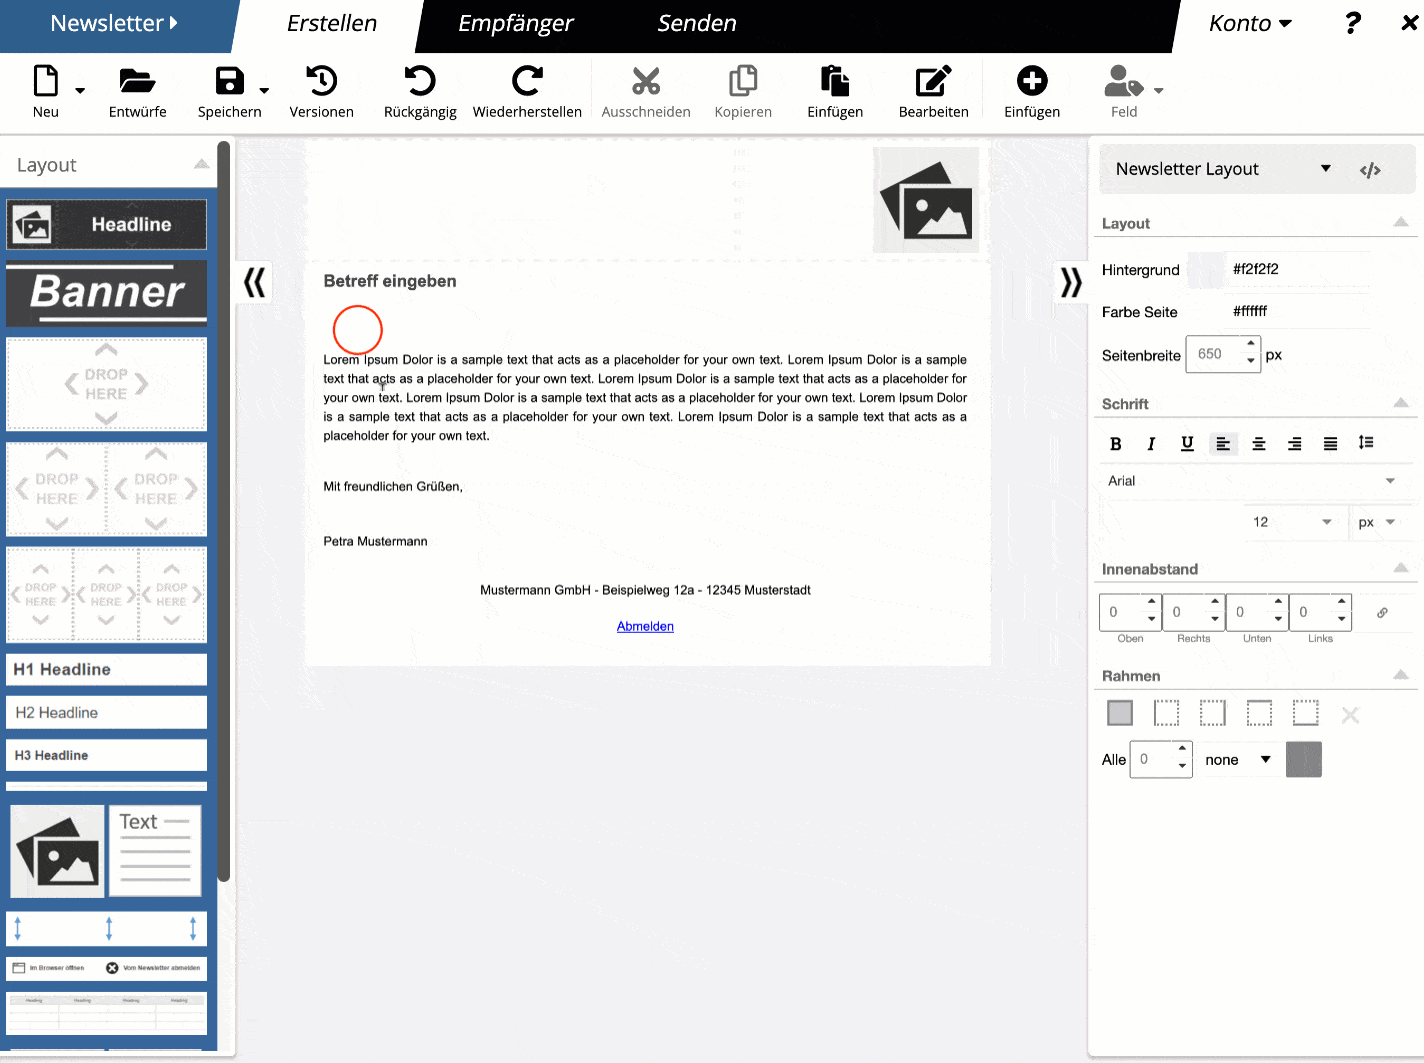
Select the desired personalization field under "Personalization field" in the menu bar at the top left:
Insert [Field name] or {Field name} in the alternative text or subject line, where Field name is the name of the field. All fields displayed in the list of personalization fields can be used. Please pay attention to the correct capitalization.
Insert a normal link using the "Insert link" function. In the url field in which the url is entered, insert the name of the field containing the user ID in square brackets in the appropriate place.
The preview function shows how the newsletter personalization will look for each recipient:
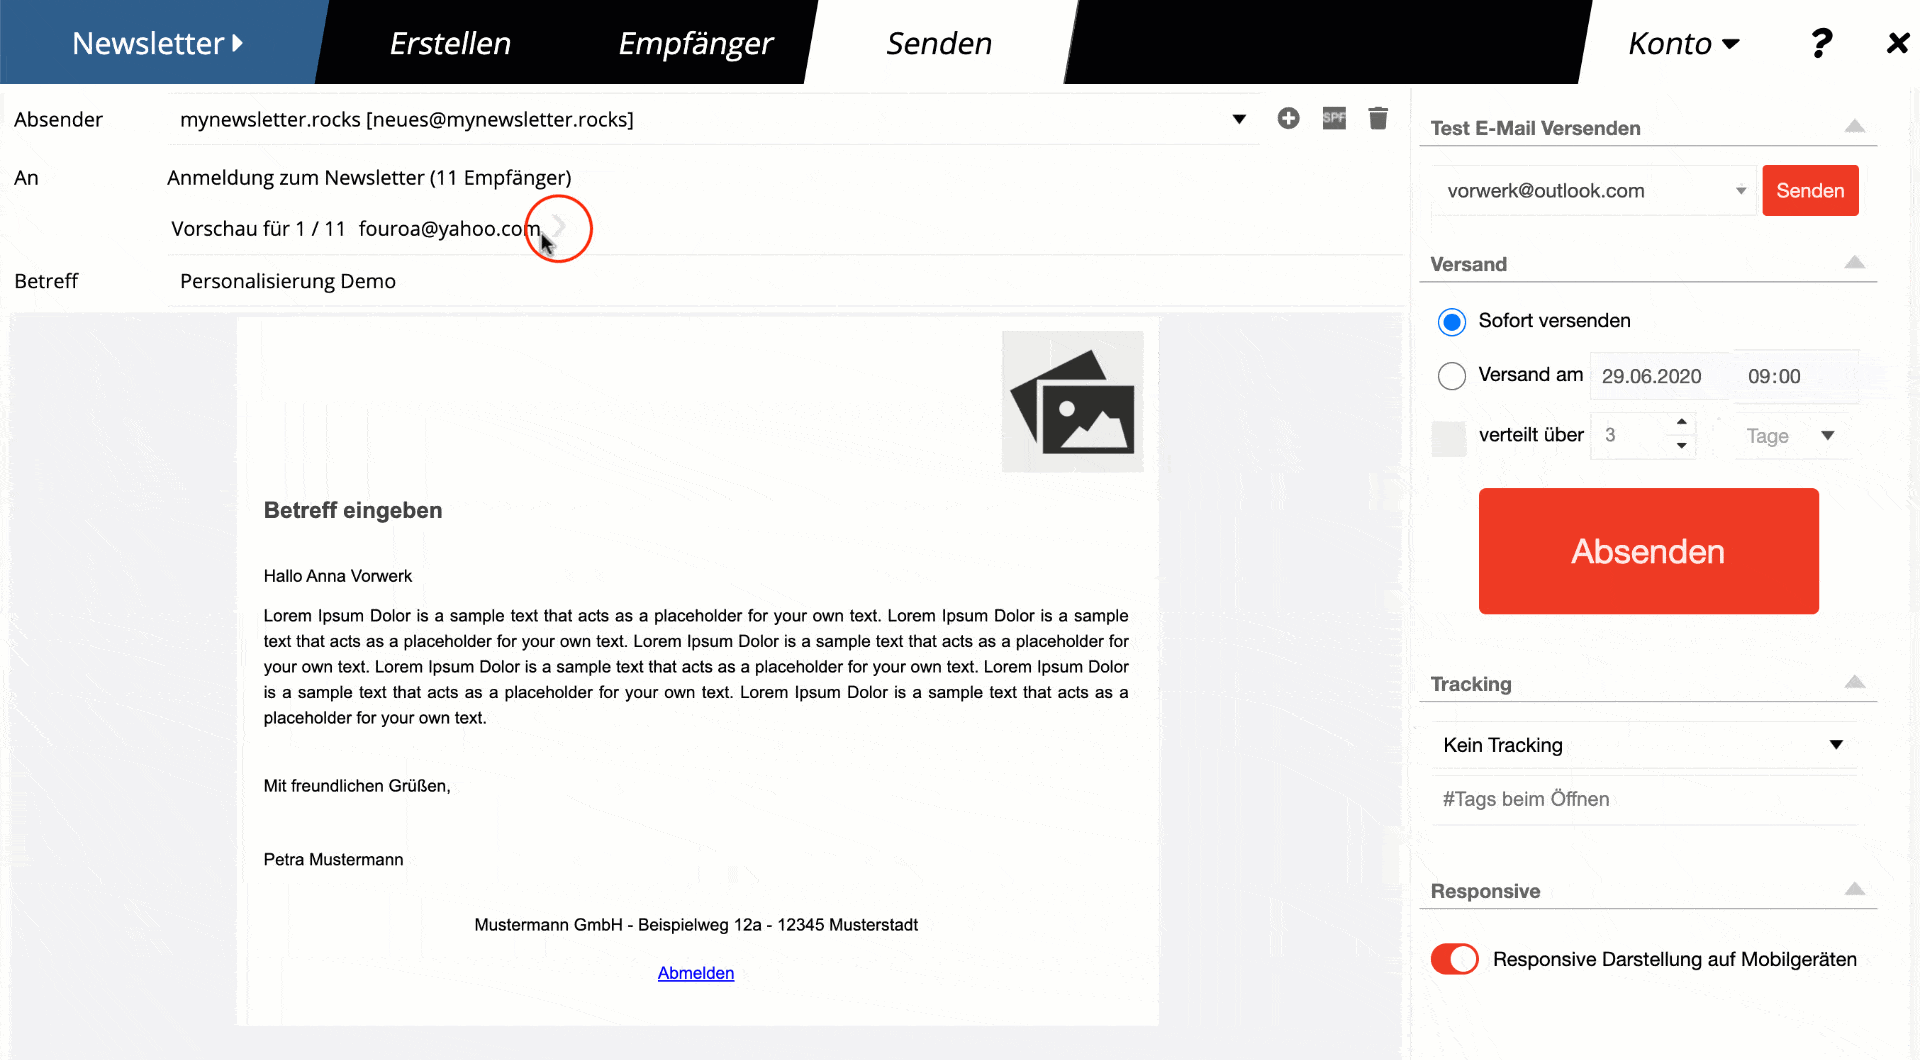
Click on the arrows next to the email address to see a personalized preview for each recipient.
When you send a test e-mail, the currently displayed personalization is applied.
If the personalization of your newsletter is not working properly, there may be various reasons for this.
On the one hand, it is possible that a field name was specified in the newsletter personalization that does not exist in the database. It is best to check whether the field name exists in the list of personalization options offered by the system.
If the field name exists, check whether the spelling is correct and whether the field is embedded in either square [ ] or curly { } brackets. There must be no spaces between the brackets and the field name.
If the personalization still does not work, it could also be because HTML code for formatting has crept into the field. To check this, remove the personalization field completely and insert it again without formatting it. Check the functionality again and only then format the field. When formatting, make sure that you format the field completely and not just part of the field (for example, if everything is formatted in bold except for the brackets, it will not work).